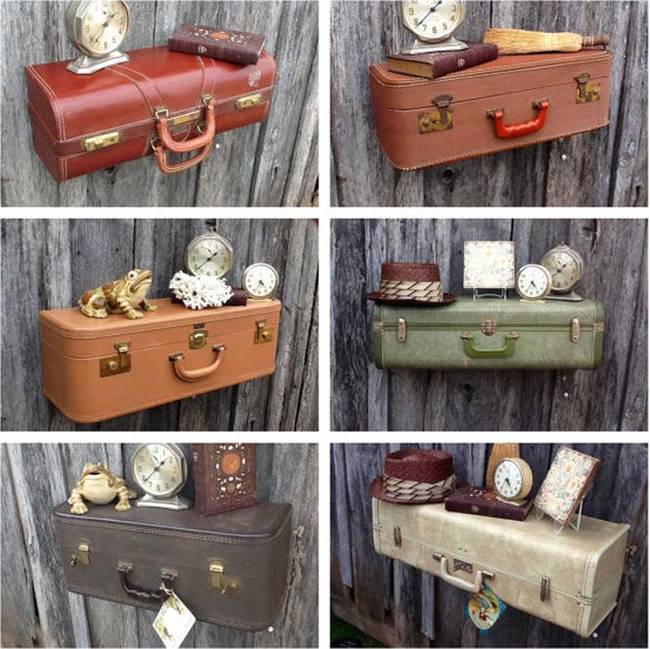
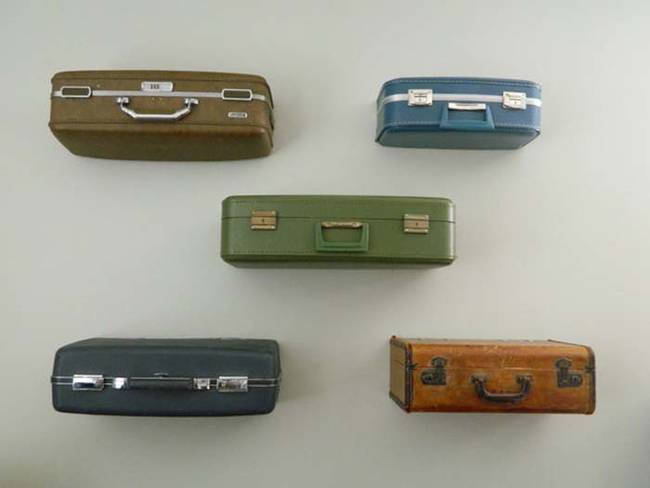
Looking for a cute and practical way to add an antique air to your home? Instead of throwing out your dusty old suitcases that have been in your basement for years, turn them into personalized shelving units. If you don’t have any home, thrift stores are also full of vintage cases. With a few cuts, a little glue, and some nuts and bolts, the suitcases become unique, one-of-a-kind home decor creations.
This tutorial comes from artist Mandy Heath, who frequently upcycles vintage items. If you’re up for a challenge, check out an abridged version of the instructions below.
Vintage suitcase shelves are an adorable way to add vintage flair to your home.
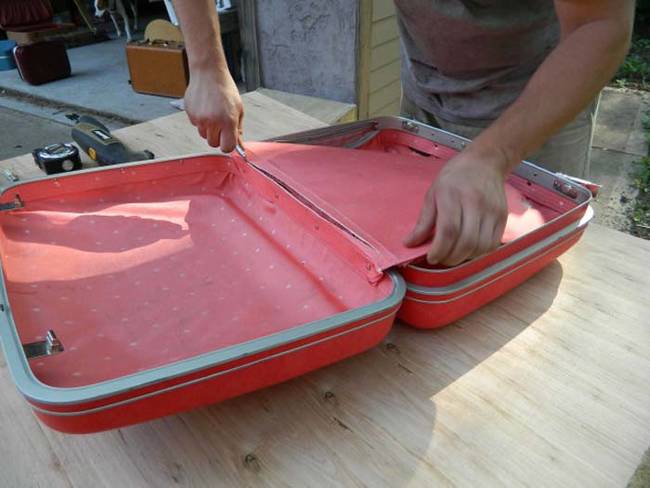
If your suitcase has a divider inside, cut the divider out before starting the project.
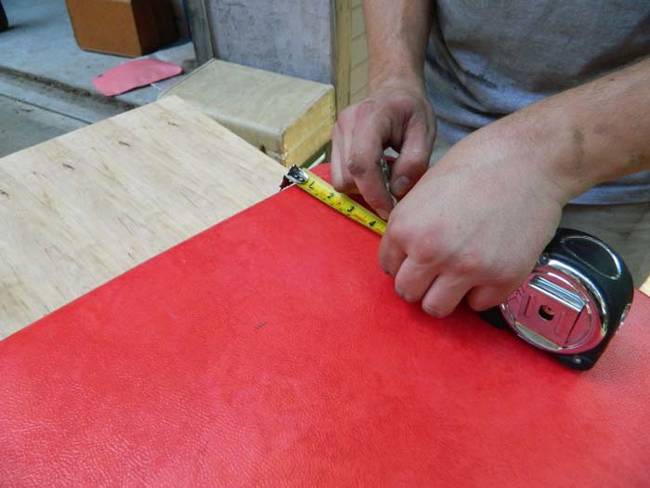
Next, figure out the desired depth of your shelves. Mark that measurement on the suitcase for reference when cutting.
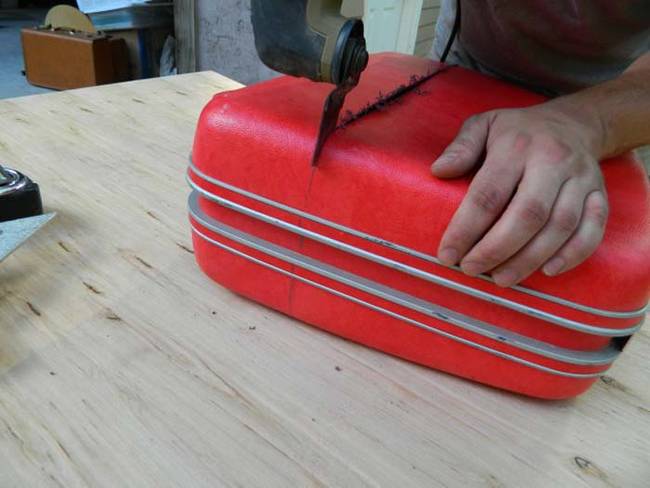
Cut the plastic or hard fabric parts of your suitcase. Once you’ve reached the metal edge, use a Sawzall to cut through it.
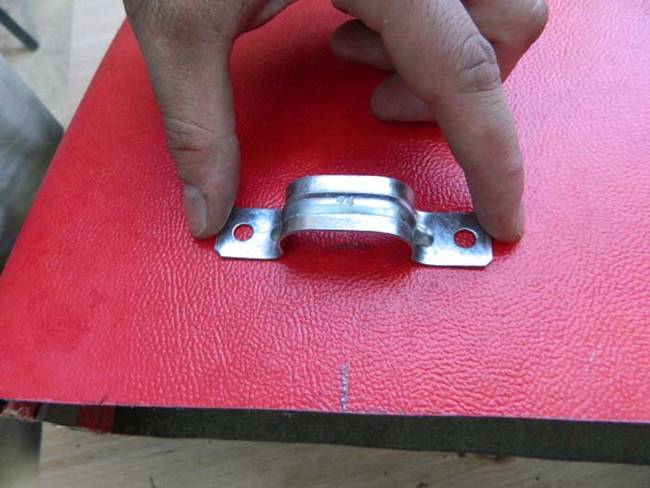
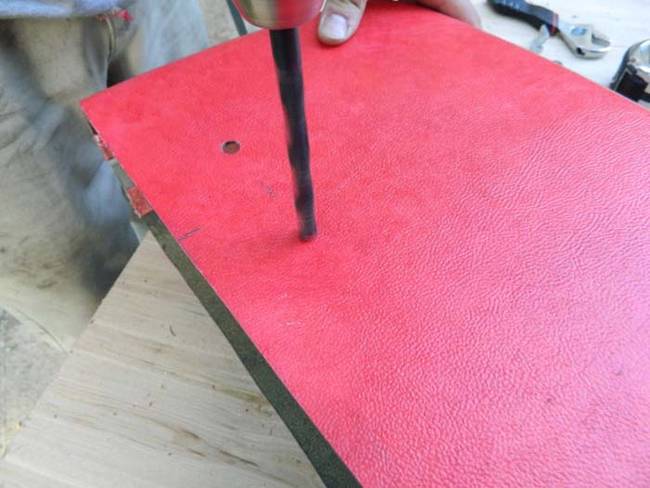
Remove the liner from your suitcase before installing U-brackets on the inside of the suitcase.
Make sure the bolts on your brackets are tight.
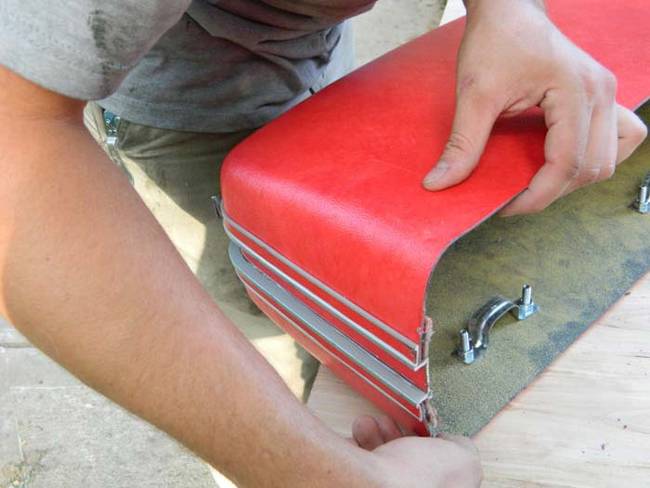
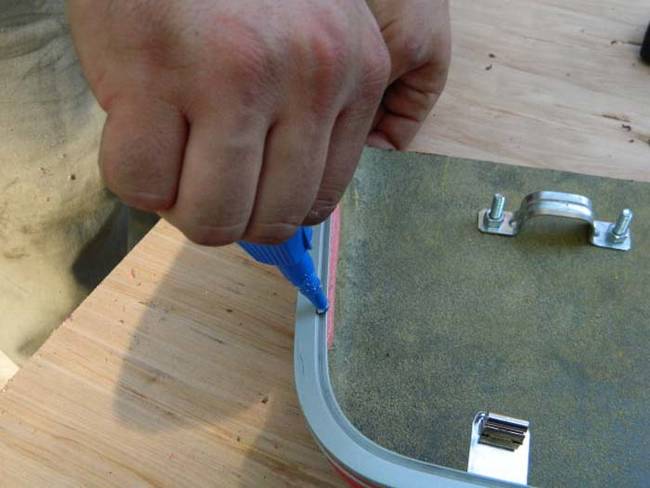
Apply superglue to the edges of the suitcase. Shut the lid. Put a heavy object on top of the suitcase and let the glue dry.
Attach your shelves to the wall using L-brackets. Don’t forget to double check that they’re level!
(source Krrb)
If you love the look but aren’t feeling so crafty, you can also purchase the shelves from her Krrb or Etsy shops.
These are sure to catch the eye of any visitors you may have in your home. Instead of shelling out money for a boring, store-bought shelving unit, I’m definitely going to try and make these old school versions myself.
 share
share
 share
share
 share
share
 share
share
 share
share
 share
share
 share
share
 share
share
 share
share


